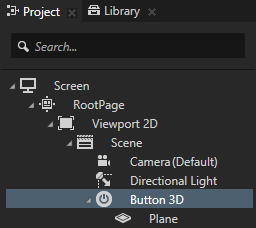
You create a state manager in the Button 3D node to change the rotation of the Plane node when the Button 3D node is pressed.
 .
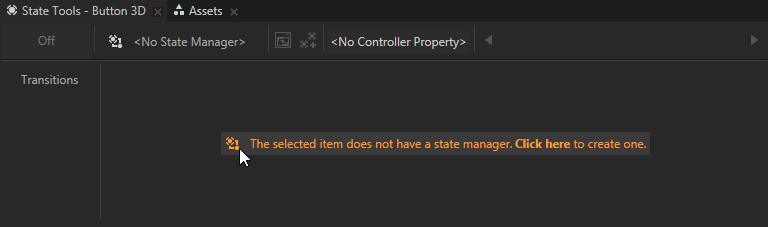
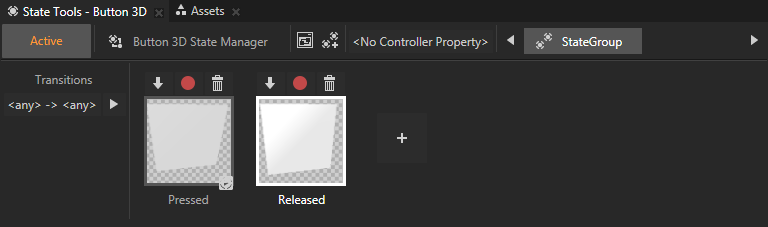
.Kanzi Studio creates a new state manager and assigns it to the selected node.
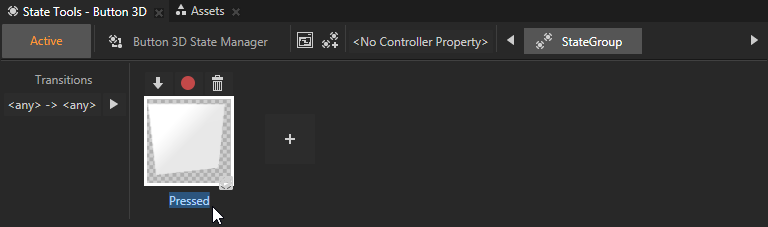
 to create a state.
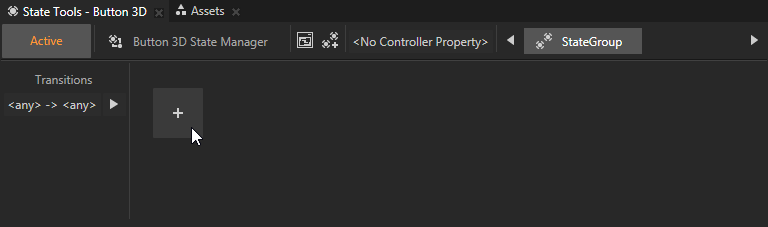
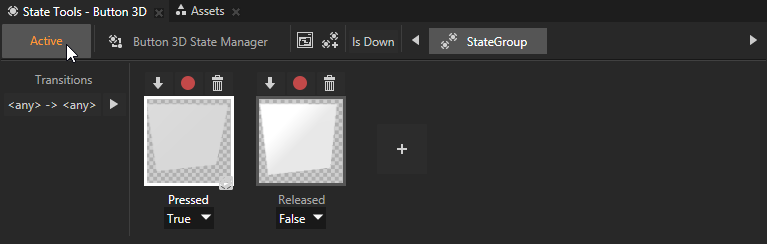
For example, name the state Pressed.
 to save the current values to that state.
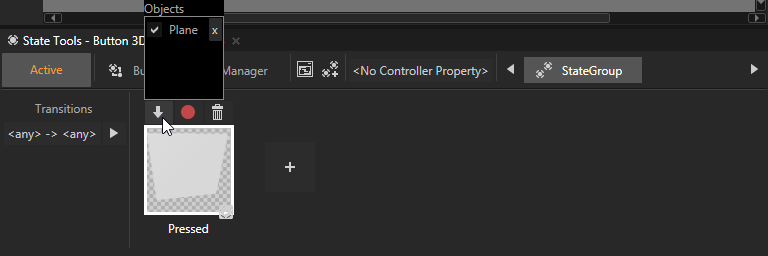
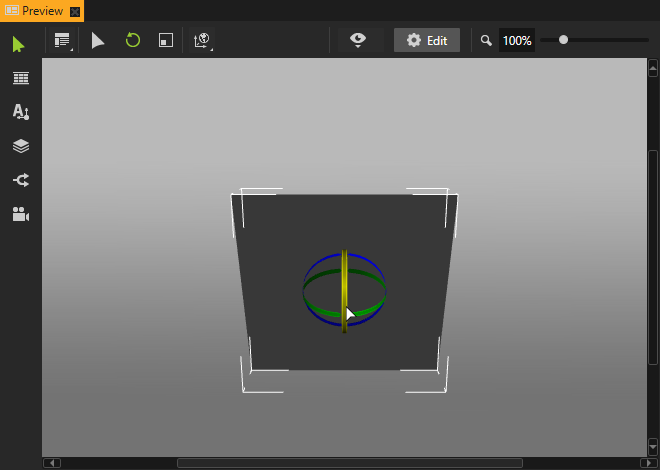
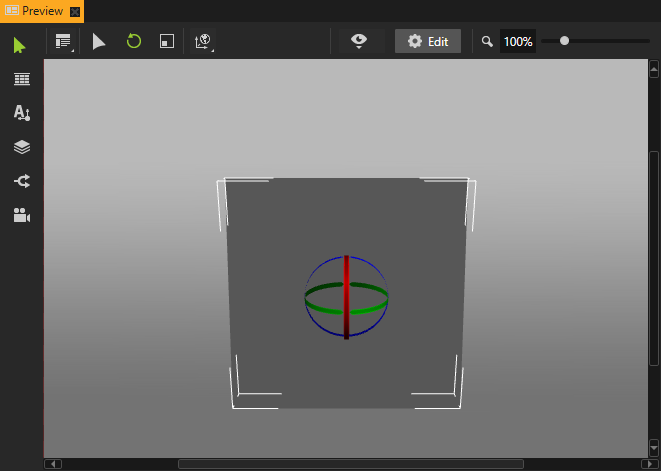
When you click a state in the State Tools, you can see in the Preview what the nodes controlled by that state manager look like in that state.
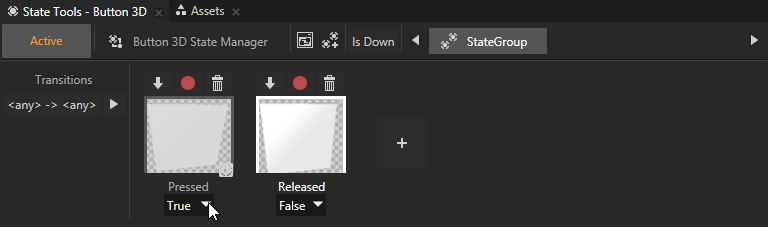
In a state manager the value of the property you select as the Controller Property defines the conditions when each state in a state group is active. Here you use the Is Down property to transition to a state based on the value of that property.

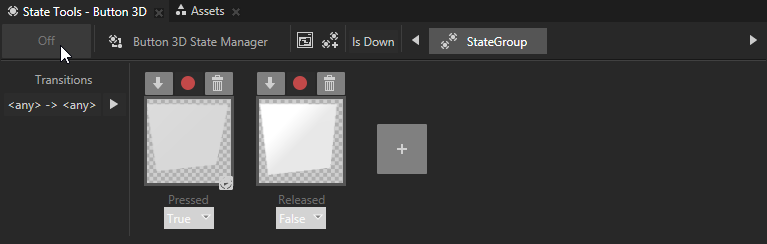
When you want to try out in the Preview how the state manager works in your application you need to turn the State Tools off.